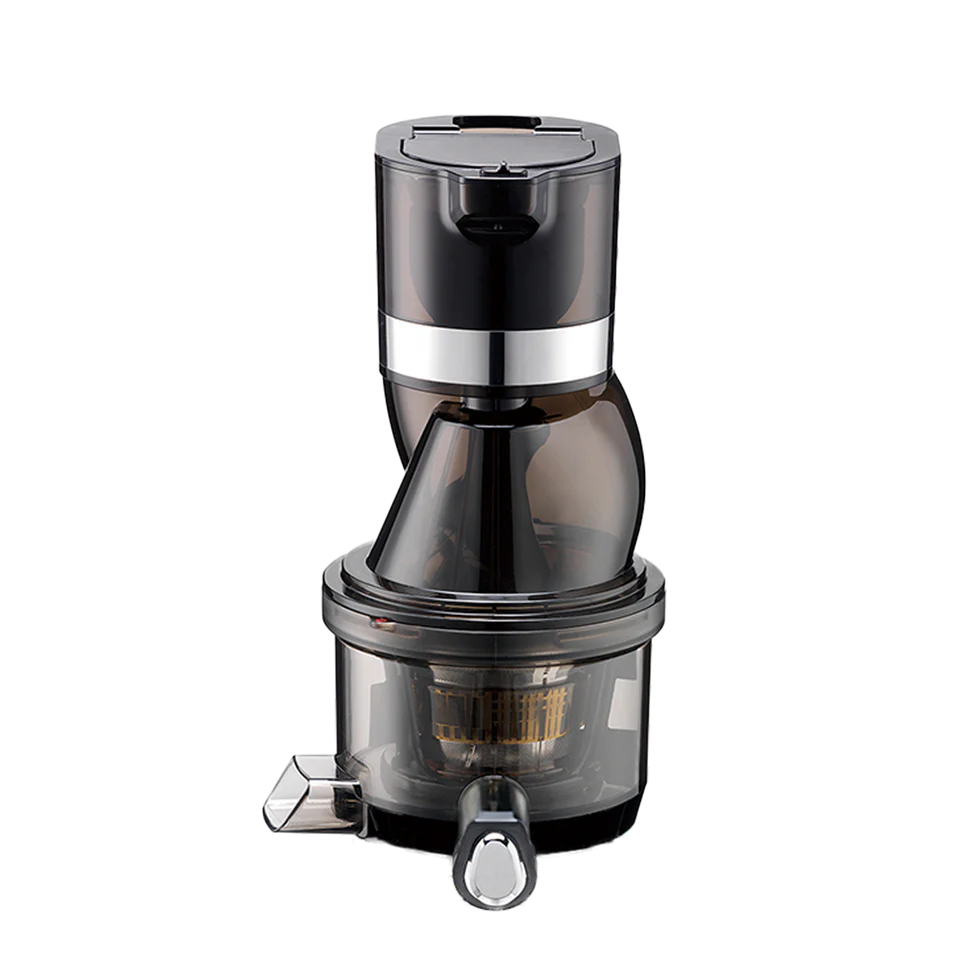
A cold-press juicer is a big investment, and you want your Kuvings juicer to last for years to come, and provide optimal performance. Nobody wants to use a slow juicer, or deal with a dirty juicing unit. So read on, and get a full, step-by-step guide on how to clean your juicer.
1. Flush The Juicer Clean After Use
After you’re done juicing, just pour some water into the juicing chute, close the cap, and run the motor to flush-clean the juicer. This will remove the majority of material that remains in the unit.
2. Remove And Rinse The Lid And Chute
Twist the lid to the right, open position, then loosen and remove it. Rinse the top with warm water, and soap, if desired, and clean the juicing chute. Set them on a clean towel or dish rack to dry.
3. Clean The Juicing Screw Components
Take off the juicing enclosure, including the rotation wiper, the juicing screw, and juicing bowl. Separate each individual component, and rinse each one with warm water. For deeper cleaning, you may soak the components in warm, soapy water. For the best results, make sure to remove all of the pulp from the screen, using the included brush to scrape and remove any additional material.
4. Remove The Rubber Plug
This step is often forgotten, but is very important. Remove the rubber plug from under the juicing bowl, and rinse away any remaining pulp. You can use the included brush to help you do so. If you forget, the juicer bowl may not fit properly on the juicer base, or the quality of your juice may be reduced.
5. Allow Your Components To Dry, And Reassemble
You can leave your juicer components to dry, or use a clean towel to dry them yourself. Once dry, simply reverse the disassembly process. Place the rubber plug back under the juicing bowl, reattach the juicing screw and components, and replace the juicing chute and lid, placing each piece back on your juicer.
If you’re having trouble remembering where each part goes, you can refer to the documentation that came with your juicer, or find the component diagram on our website.
Clean Your Kuvings Juicer Properly – And Enjoy Your Fresh, Delicious Juice!
Proper cleaning will allow you to make top-quality juice with the Kuvings whole juicer, and ensure that each component lasts for the longest possible time.
The entire process takes between 2-5 minutes when you’ve done it a few times, so it’s quite simple – and we have natural, eco-friendly cleaning supplies and materials you can purchase, if you need them!
Just remember to take your time, clean everything thoroughly, and NEVER put any Kuvings juicer components in the dishwasher. You may permanently damage your unit, due to the high temperatures present in modern dishwashers.

![[NEW] REVO830 Whole Slow Juicer "The Dark Knight" - Kuvings.my](http://kuvings.my/cdn/shop/files/REVO830_multi-function.webp?v=1770275014&width=1200)
![[NEW] REVO830 Whole Slow Juicer "The Dark Knight" - Kuvings.my](http://kuvings.my/cdn/shop/files/contents_compare_01_360x_677de4d1-1209-4ada-b8e3-d1445cee5e84.webp?crop=region&crop_height=360&crop_left=0&crop_top=0&crop_width=360&v=1770275014&width=360)
![[NEW] REVO830 Whole Slow Juicer "The Dark Knight" - Kuvings.my](http://kuvings.my/cdn/shop/files/cold-press-juice_00.jpg?v=1770275014&width=1200)
![[NEW] REVO830 Whole Slow Juicer "The Dark Knight" - Kuvings.my](http://kuvings.my/cdn/shop/files/sub_buying-guide_05_9f06c62f-683c-4247-8c93-efb0111660e5.jpg?crop=region&crop_height=920&crop_left=15&crop_top=0&crop_width=920&v=1770275014&width=950)
![[NEW] REVO830 Whole Slow Juicer "The Dark Knight" - Kuvings.my](http://kuvings.my/cdn/shop/files/IndyBest_banner.jpg?v=1770275014&width=1080)
![[NEW] REVO830 Whole Slow Juicer "The Dark Knight" - Kuvings.my](http://kuvings.my/cdn/shop/files/REVO830_1080x1080_773ec9d9-75c2-495e-b256-6d01ef58ba78.jpg?v=1770275014&width=1080)
![[NEW] REVO830 Whole Slow Juicer "The Dark Knight" - Kuvings.my](http://kuvings.my/cdn/shop/files/EVO820REVO830_1080x1080-_1.jpg?v=1770275014&width=1080)
![[NEW] REVO830 Whole Slow Juicer "The Dark Knight" - Kuvings.my](http://kuvings.my/cdn/shop/files/2022_revo-und-evo_02.jpg?v=1770275014&width=1000)
![[NEW] REVO830 Whole Slow Juicer "The Dark Knight" - Kuvings.my](http://kuvings.my/cdn/shop/files/REVO830_01_540x_636872b5-787d-48dc-a4f6-0d006b49a63f.webp?v=1770275014&width=540)
![[NEW] REVO830 Whole Slow Juicer "The Dark Knight" - Kuvings.my](http://kuvings.my/cdn/shop/files/shopping.webp?v=1770275014&width=600)
![[NEW] REVO830 Whole Slow Juicer "The Dark Knight" - Kuvings.my](http://kuvings.my/cdn/shop/files/2L9A7313-e1690867035583-700x751.jpg?crop=region&crop_height=700&crop_left=0&crop_top=0&crop_width=700&v=1770275014&width=700)
![[NEW] REVO830 Whole Slow Juicer "The Dark Knight" - Kuvings.my](http://kuvings.my/cdn/shop/files/kuvings-whole-slow-juicer-revo830-black-revo830b_main_kitchen_innovation_1667x_64f4e0fc-2684-4f8f-af3b-8aeb0a3cca04.webp?v=1770275014&width=1000)
![[NEW] REVO830 Whole Slow Juicer "The Dark Knight" - Kuvings.my](http://kuvings.my/cdn/shop/files/SNS-REVO830-Lifestyle-62-1-1-Revised0.jpg?v=1770275014&width=990)
![[NEW] REVO830 Whole Slow Juicer "The Dark Knight" - Kuvings.my](http://kuvings.my/cdn/shop/files/REVO830-wholeslowjuicer-coldpress3.webp?v=1770275014&width=900)
![[NEW] REVO830 Whole Slow Juicer "The Dark Knight" - Kuvings.my](http://kuvings.my/cdn/shop/files/3_bf54f2a4-1c87-4015-94d7-3b7e7de053f6.png?crop=region&crop_height=461&crop_left=0&crop_top=0&crop_width=461&v=1770275014&width=461)


